Introduction[edit]
PuTTY is an SSH and telnet client that runs on Windows, Linux and UNIX. This terminal emulator establishes a TCP/IP connection and works with multiple network protocols. Template:Tip
How to Install Putty on Windows[edit]
Step 1: Download the installation package[edit]
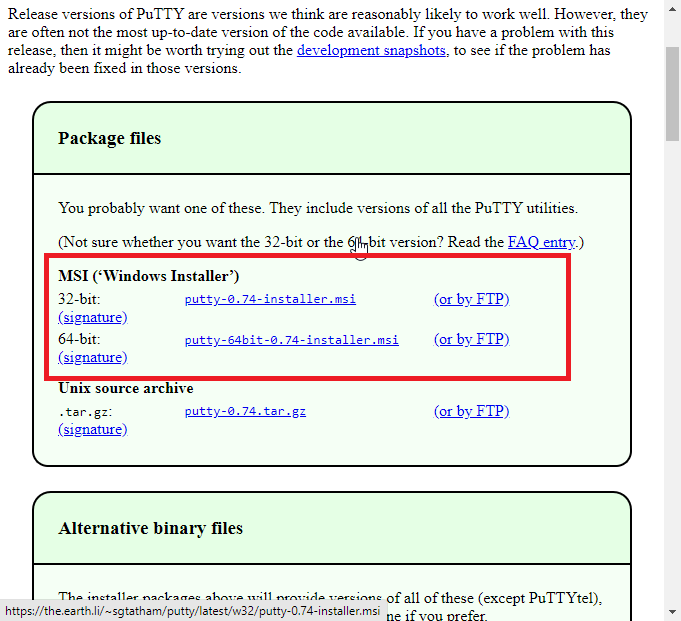
Launch your favourite browser and download Putty from the official site. www.chiark.greenend.org.uk/~sgtatham/putty/latest.html
Click putty-version-installer.msi if you're on a 32-bit computer or putty-64bit-version-installer.msi if your PC has a 64-bit processor
Step 2: Installing PuTTY[edit]
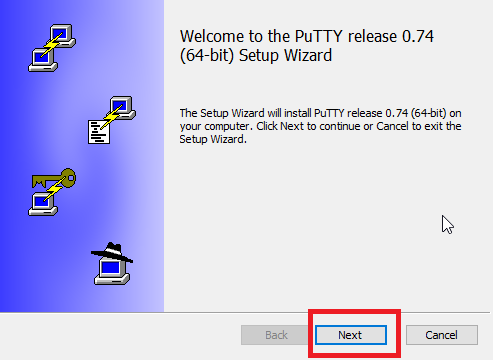
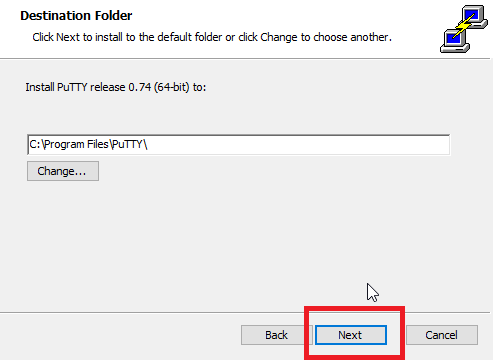
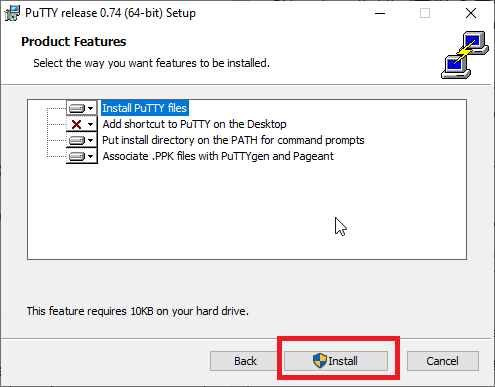
You must have administrative privileges to install PuTTY. Launch the installer by double-clicking the downloaded file. Click "Next" throughout the wizard to Install PuTTY with all the default(recommended) options. You may change the installation directory. You can choose whether to create a desktop shortcut and associate PuTTY with .ppk files (private keys for connecting securely to other computers). These options are enabled by default
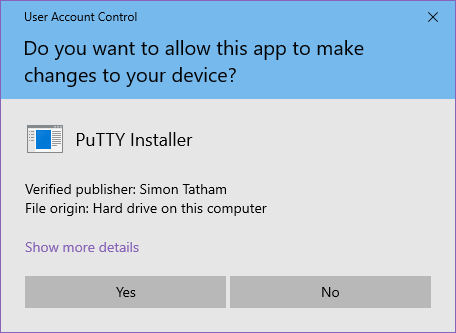
You may get this prompt depending on your current UAC settings. Click "Yes"
The installer will run for a few seconds. Untick "view the README file" and click "Finish"
[OPTIONAL] Step 3: launching PuTTY[edit]
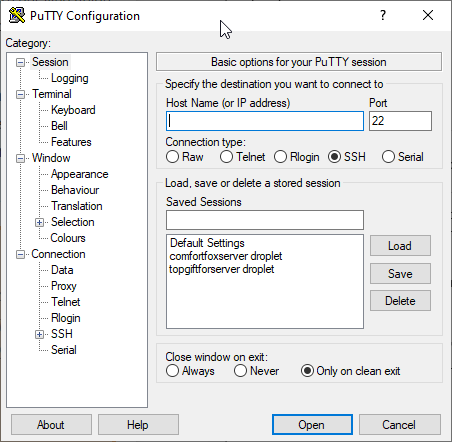
Run PuTTY by double-clicking on it's newly created desktop shortcut or by searching "PuTTY" o the Start Menu. You've just installed PuTTY.

