Difference between revisions of "Chrome SSH Extension"
From Coder Merlin
| Line 13: | Line 13: | ||
[[File:Google_Secure_Shell_Install_Page.png|link=|center]] | [[File:Google_Secure_Shell_Install_Page.png|link=|center]] | ||
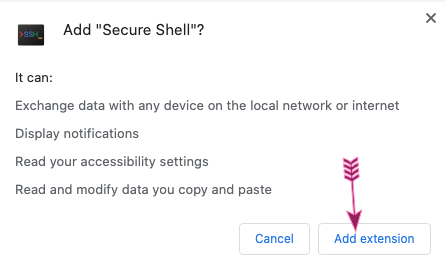
== Step 4: Grant Permissions == | == Step 4: Grant Permissions == | ||
Grant the | Grant the extension the required permissions: | ||
[[File:Google_Grant_Secure_Shell_Permissions.png|link=|center]] | [[File:Google_Grant_Secure_Shell_Permissions.png|link=|center]] | ||
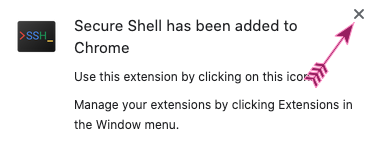
== Step 5: Receive Confirmation == | == Step 5: Receive Confirmation == | ||
Wait patiently; you'll soon receive a confirmation message. You may safely close this message; you're shell has been installed! | Wait patiently; you'll soon receive a confirmation message. You may safely close this message; you're shell has been installed! | ||
[[File:Google_Secure_Shell_Confirmation.png|link=|center]] | [[File:Google_Secure_Shell_Confirmation.png|link=|center]] | ||
Revision as of 10:52, 16 August 2020
Within these castle walls be forged Mavens of Computer Science ...
— Merlin, The Coder
Introduction[edit]
Google provides an excellent and free Secure Shell Extension which is often the easiest way to obtain a shell for use with Coder Merlin. The steps required to install this extension are listed below.
Caution
The instructions below require Google Chrome; they won't work correctly in any other browser.
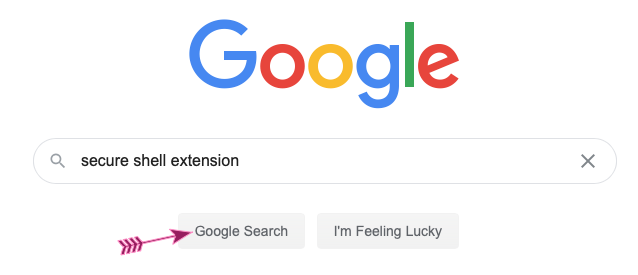
Step 1: Find the Extension[edit]
Using Google Chrome, search for "secure shell extension":
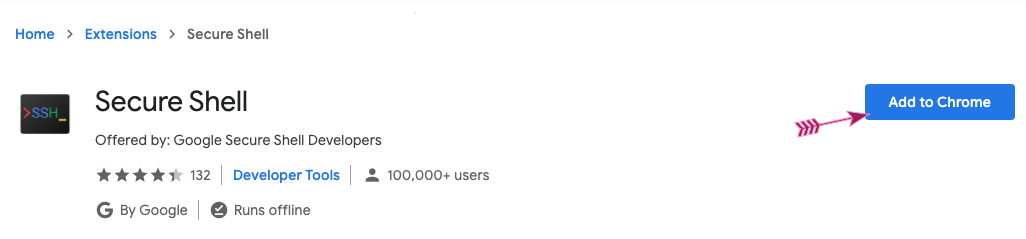
Step 2: Click on the Correct Link[edit]
Be sure you are clicking on the link with the text "Secure Shell is an xterm-compatible terminal emulator."

Step 3: Add the Extension[edit]
Click on the "Add to Chrome" button:
Step 4: Grant Permissions[edit]
Grant the extension the required permissions:
Step 5: Receive Confirmation[edit]
Wait patiently; you'll soon receive a confirmation message. You may safely close this message; you're shell has been installed!